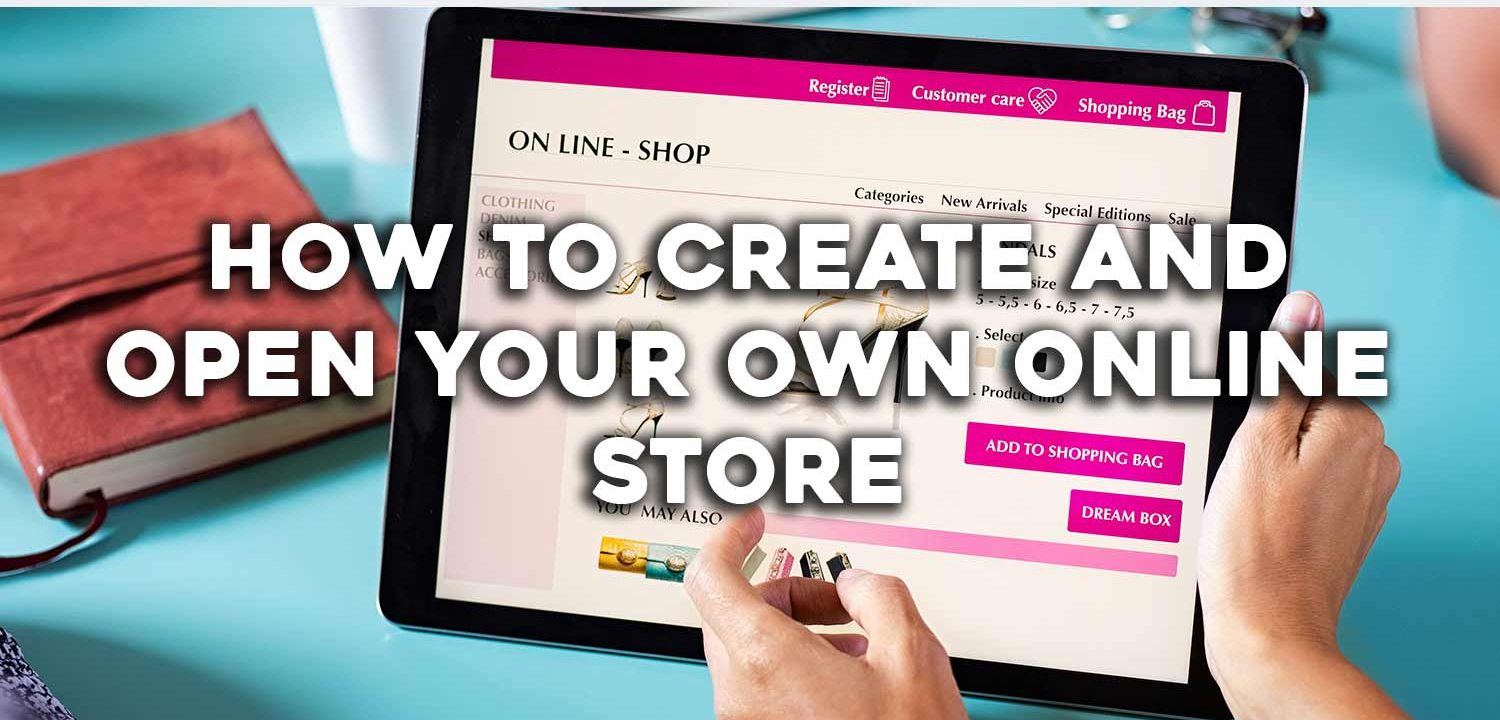
Adding an e-commerce store to your website boosts sales and expands your reach. It’s a smart move for growing your business online.
Setting up an online store might seem challenging, but it’s easier than you think. With the right tools and steps, you can transform your website into a powerful selling platform. Whether you’re a small business owner or a blogger looking to monetize your content, an e-commerce store can help you achieve your goals.
In this guide, you’ll learn the essential steps to add an e-commerce store to your website. From choosing the right platform to setting up payment options, we’ll cover everything you need to know. Ready to take your website to the next level? Let’s dive in and explore how to get your online store up and running.
Choosing The Right Platform
Choosing the right platform is crucial for your e-commerce store. The platform will affect your store’s performance and ease of use. It will also impact the customer experience and your ability to scale. This section will help you navigate through popular choices.
Popular E-commerce Platforms
Several platforms dominate the e-commerce landscape. Shopify is a top choice for its simplicity. WooCommerce is another popular option, especially for WordPress users. BigCommerce is known for its robust features. Magento offers flexibility but requires technical know-how. Each platform has unique strengths.
Platform Features Comparison
Shopify offers an easy setup and many themes. It includes hosting and security. WooCommerce is highly customizable and integrates seamlessly with WordPress. BigCommerce provides powerful tools and excellent scalability. Magento excels in flexibility and control but may need developer support. Consider your needs and skills when choosing.

Credit: www.webfx.com
Setting Up Your Store
Setting up your e-commerce store can seem overwhelming. But breaking it down into steps can make the process easier. This section will guide you through creating an account and setting up your domain and hosting.
Creating An Account
First, choose an e-commerce platform. Popular options include Shopify, WooCommerce, and BigCommerce. Each platform has its pros and cons, so research to find the best fit for your needs.
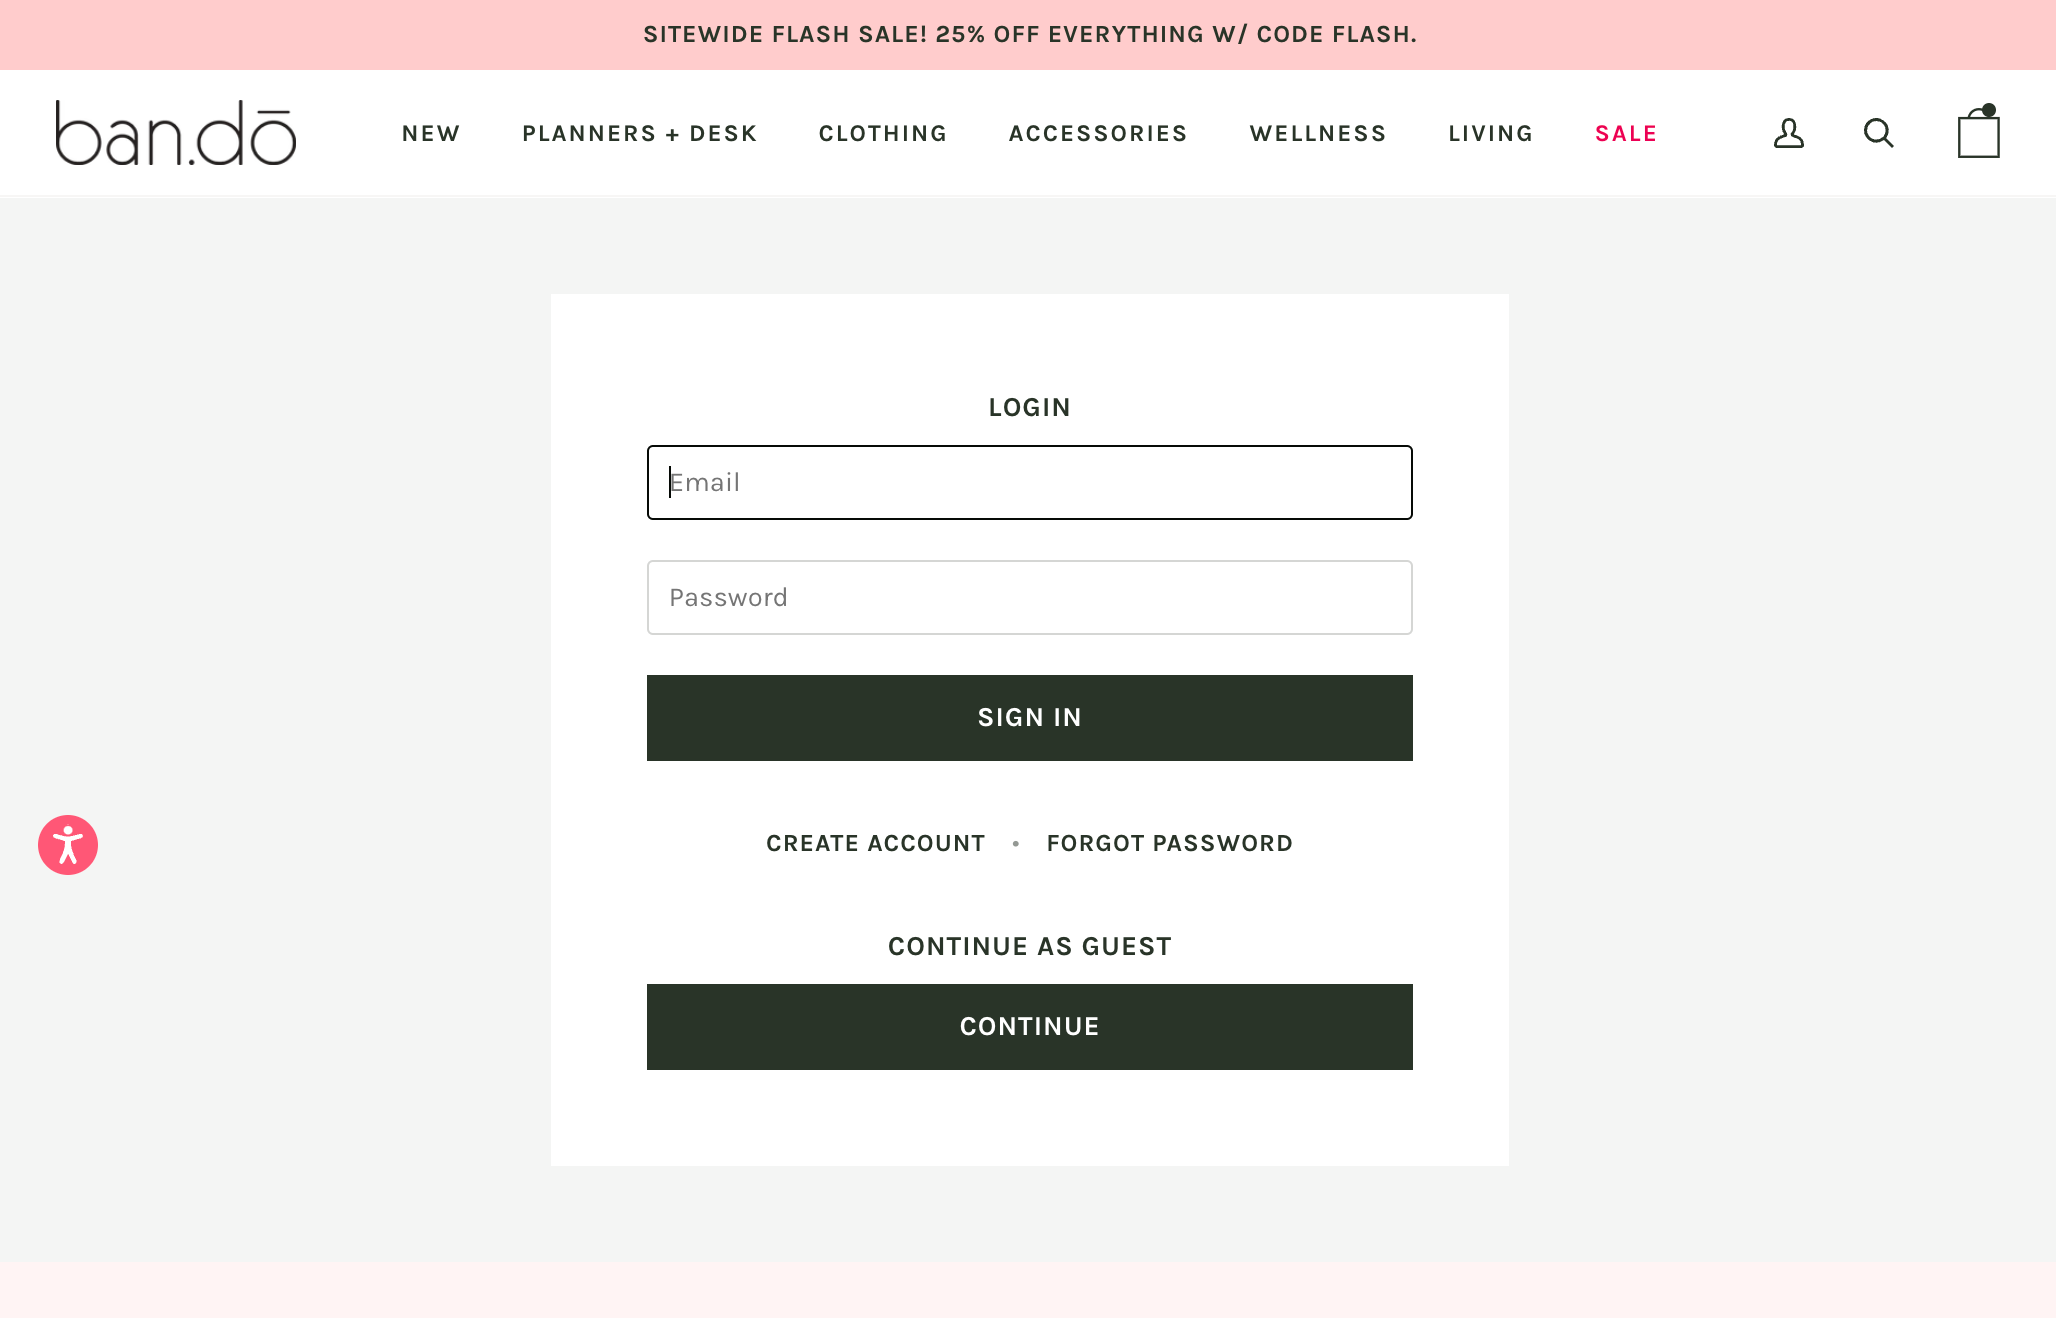
Once you select a platform, visit its website. Look for a “Sign Up” or “Get Started” button. Click it to begin creating your account. You will need to provide basic information like your name, email, and password. Some platforms might ask for additional details, like your store name or business address.
After filling in your information, click “Submit” or “Create Account.” You may receive a verification email. Follow the instructions in the email to verify your account. Now, you’re ready to set up your store.
Domain And Hosting Setup
Your domain is your store’s address on the web. Choose a domain name that is easy to remember and reflects your brand. Most e-commerce platforms offer domain registration services. You can purchase a new domain or use one you already own.
Hosting is where your website’s files are stored. Many e-commerce platforms provide hosting as part of their service. If using WooCommerce, you will need separate hosting. Look for a reliable hosting provider with good customer support.
After securing your domain and hosting, connect them to your e-commerce platform. Follow the platform’s instructions to link your domain. This usually involves updating your domain’s DNS settings. Once connected, your store will be live and accessible to customers.
Setting up your store may take some time. But with these steps, you will be well on your way to launching your e-commerce business.
Designing Your Store
Designing your e-commerce store can be an exciting process. It helps you create a unique space for your products. A well-designed store can also attract more customers. Here are some steps to help you design your store.
Choosing A Theme
Your theme sets the overall look and feel of your store. Choose a theme that matches your brand. Look for one that is easy to navigate. Many platforms offer free and paid themes. Make sure the theme is responsive. This means it looks good on all devices.
Customizing The Layout
Customizing the layout helps you stand out. Arrange your products in a way that makes sense. Use clear categories and labels. Make sure your most popular products are easy to find. Add banners or sliders to highlight promotions. Keep the design simple and clean. This makes it easy for customers to find what they need.
Adding Products
Adding products to your e-commerce store is a key step. It helps you showcase what you offer. This process involves organizing your items, writing descriptions, and uploading images. Let’s break it down into simple steps.
Product Categories
Start by creating product categories. These help customers find what they need quickly. Categories group similar items together. For example, if you sell clothes, you can have categories like “Men’s Clothing,” “Women’s Clothing,” and “Kids’ Clothing.” This makes navigation easier and improves the shopping experience. Clear categories also help with SEO, making your store more visible in search results.
Product Descriptions And Images
Write clear product descriptions. Use simple language. Describe the features and benefits of each product. Mention the material, size, and color options. Keep sentences short. This makes it easier for customers to read and understand.
High-quality images are crucial. They give customers a visual idea of the product. Use multiple angles to show different sides. Ensure images are clear and well-lit. This builds trust and encourages purchases.
Configuring Payment Options
Configuring payment options is a crucial step in adding an e-commerce store to your website. It ensures that your customers can pay for their purchases securely and easily. Let’s dive into the key aspects: Payment Gateways and Setting Up Currencies.
Payment Gateways
Payment gateways are services that process credit card payments for your online store. Choosing the right one is vital for your business. Here are some popular options:
- PayPal
- Stripe
- Square
- Authorize.Net
Each gateway has its own features, fees, and supported countries. Compare them based on your needs. After selecting a gateway, follow these steps to integrate it:
- Create an account with the payment gateway.
- Obtain your API keys from the gateway.
- Integrate the API keys with your e-commerce platform.
- Test the integration with a small transaction.
Integration methods may vary based on your platform. Most platforms provide plugins or built-in support for major gateways.
Setting Up Currencies
Offering multiple currencies can attract international customers. Setting up currencies is straightforward:
- Go to your e-commerce platform’s settings.
- Find the currency options.
- Add the currencies you want to support.
- Set up automatic or manual exchange rates.
Here’s a quick comparison of manual vs automatic exchange rates:
| Manual Exchange Rates | Automatic Exchange Rates |
|---|---|
| You set the rates yourself. | Rates are updated automatically. |
| More control over pricing. | Less maintenance required. |
Offering multiple currencies can increase your sales. It makes shopping easier for international customers.

Credit: www.shopify.com
Setting Up Shipping
Shipping is a crucial part of your e-commerce business. It affects customer satisfaction and your bottom line. Setting it up correctly ensures smooth deliveries and happy customers. Let’s explore the essential steps.
Shipping Methods
Choosing the right shipping methods is vital. You can offer several options to your customers. Here are some common methods:
- Standard Shipping: This is the most basic and affordable option.
- Express Shipping: Faster delivery at a higher cost.
- Same-Day Delivery: Ideal for urgent orders within the same city.
- Free Shipping: Encourages more sales but can affect profit margins.
Use a mix of these methods. This provides flexibility and meets different customer needs. Always display estimated delivery times for each method. This helps customers make informed decisions.
Shipping Zones
Shipping zones define where you ship your products. This helps in setting different rates based on locations. Divide zones into regions, countries, or even cities. This can be done using a table for clarity:
| Zone | Region/Country | Rate |
|---|---|---|
| Zone 1 | Local City | $5 |
| Zone 2 | Statewide | $10 |
| Zone 3 | National | $20 |
| Zone 4 | International | $50 |
Shipping zones help in managing shipping costs effectively. This ensures you do not lose money on long-distance deliveries. They also allow setting different delivery times for each zone.
Configure shipping zones in your e-commerce platform. This helps automate the process and prevents errors. It also allows customers to see exact shipping costs during checkout. This transparency builds trust and reduces cart abandonment.
Ensuring Security
Secure your eCommerce store by using SSL certificates and regular security updates. Ensure strong passwords and two-factor authentication for all user accounts.
Ensuring the security of your e-commerce store is crucial. Customers trust you with their personal and payment information. Protecting this data helps build that trust. It also prevents potential legal issues. Here are some key aspects to focus on.Ssl Certificates
An SSL certificate is essential. It encrypts the data between your website and visitors. This prevents hackers from stealing information. You’ll notice the “https” in your website URL. This indicates your site is secure. Search engines also favor secure websites. An SSL certificate improves your SEO.Payment Security Standards
Follow Payment Card Industry Data Security Standards (PCI DSS). These standards protect card information. Choose a payment gateway that complies with PCI DSS. This ensures secure transactions. Keep your software updated. Regular updates fix security issues. Train your staff on security best practices. This reduces human error. Security is a team effort.
Credit: monsterhost.com
Launching And Marketing
Launching and marketing your new e-commerce store are crucial steps. They ensure your store is set up correctly and reaches your target audience. Both steps require careful planning and execution.
Pre-launch Checklist
Before launching, make sure everything works perfectly. Test the shopping cart and payment process. Check that all product descriptions are accurate. Ensure all links work. Confirm that your site is mobile-friendly. Review security measures. Test loading speed. Fix any issues before going live.
Marketing Strategies
Start with a clear plan. Use social media to build excitement. Post teasers and countdowns. Offer exclusive deals to early customers. Use email marketing to reach your audience. Send newsletters with special offers. Collaborate with influencers in your niche. They can help promote your store. Utilize SEO techniques to improve your search ranking. Write blog posts about your products. Share customer reviews. Run targeted ads on social media. Track your marketing efforts. Adjust strategies based on performance.
Frequently Asked Questions
How Do I Start An Ecommerce Store On My Website?
To start, choose a reliable eCommerce platform like Shopify or WooCommerce. Then, integrate it into your website, set up product listings, and configure payment options.
What Are The Benefits Of Adding An Ecommerce Store?
Adding an eCommerce store increases your revenue, expands your customer base, and provides convenience for customers to shop online anytime.
Which Ecommerce Platform Is Best For My Website?
The best platform depends on your needs. Shopify is user-friendly, while WooCommerce offers more customization if you use WordPress.
How Much Does It Cost To Add An Ecommerce Store?
The cost varies. Basic plans for platforms like Shopify start around $29/month. Additional costs include domain, hosting, and transaction fees.
Conclusion
Adding an e-commerce store to your website is easier than you think. Follow the steps we outlined. Start small and scale as you grow. Choose the right platform to match your needs. Keep your customers in mind while designing your store.
Ensure the checkout process is smooth and secure. Regularly update your products and offers. Track your sales and improve your strategies. Remember, consistency is key. With dedication, your online store will thrive. Happy selling!


